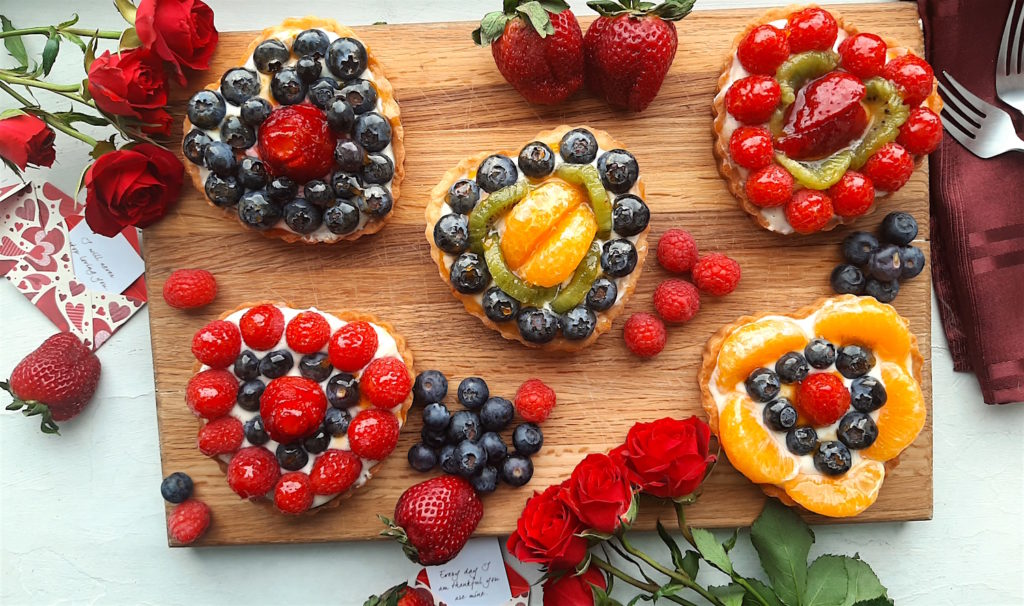
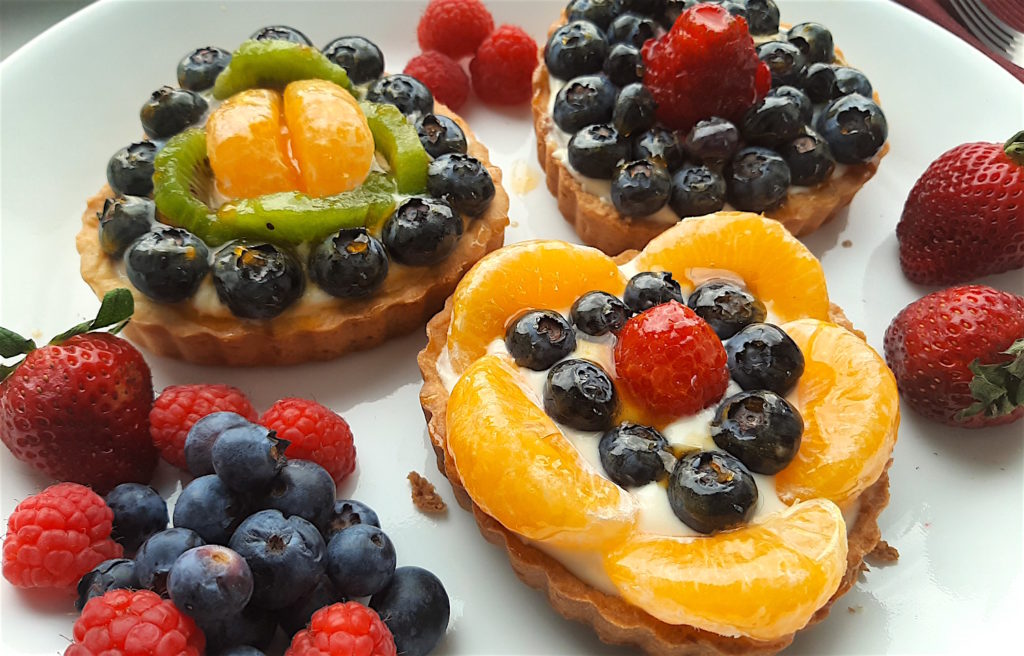
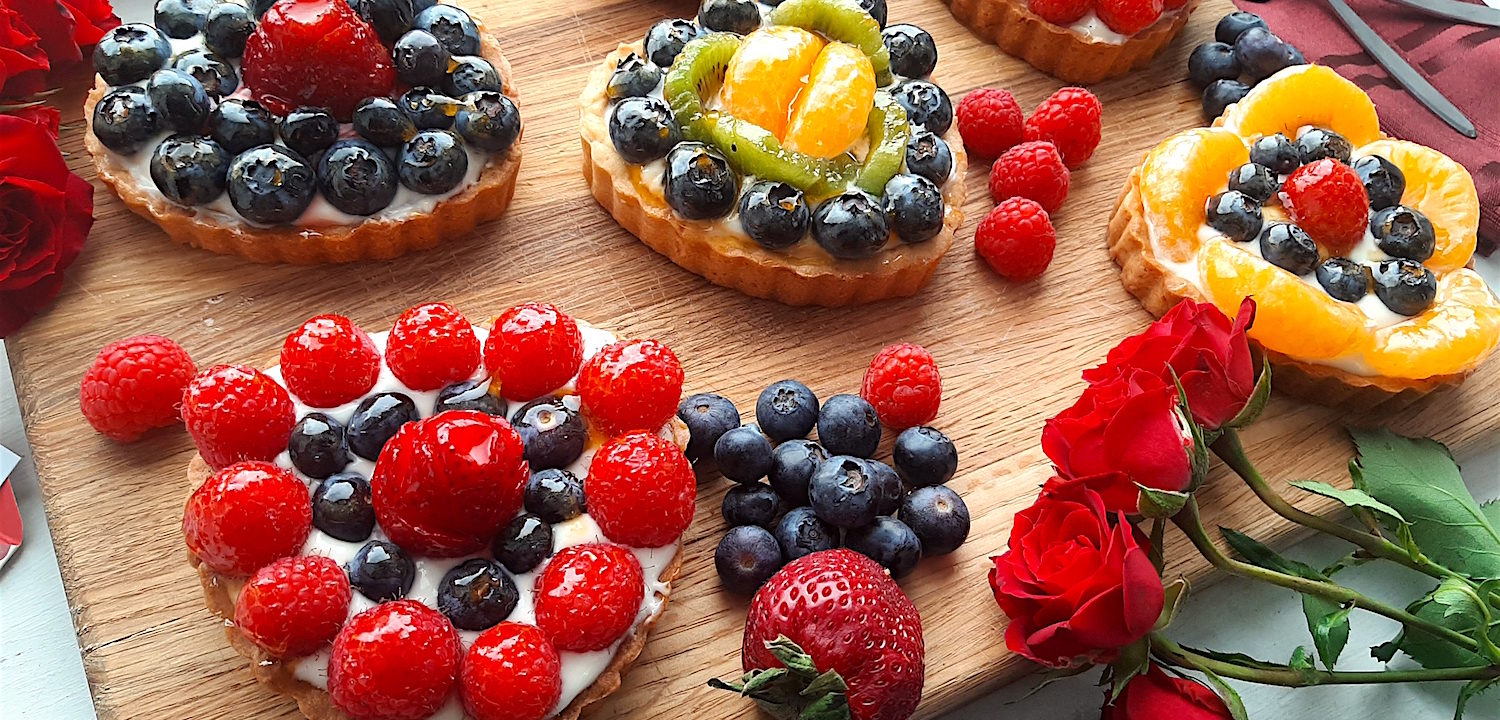
Adorable easy and quick heart-shaped mini fruit tarts with luxuriously rich cream cheese filling, orange pastry crust, and sparkling glazed fresh fruit. Perfect for Valentine’s Day or spring desserts!
My mom recently sent me a set of these adorable mini heart-shaped tart pans as a surprise. With Valentine’s Day coming up, I knew I needed to use them to charm Vasiliy.
Want other Valentine’s Recipes? Check out this list of the 20 Best Valentines Recipes for 2020!
I ran through heart-shaped cookie ideas, mini pies, tiny cakes, miniature schnauzers, teacup chihuahuas, and petite cheesecakes before I decided to use the tart pans for their god-given purpose after all…Tarts!
My mother used to make this fruit tart recipe every spring and summer when we’d have guests. It was ridiculously easy to make, even with me getting in the way. And it quickly became one of my favorite desserts.
Another fruity dessert I love? These Lemon Love Note Bars with Shortbread Crust!
Jump to Recipe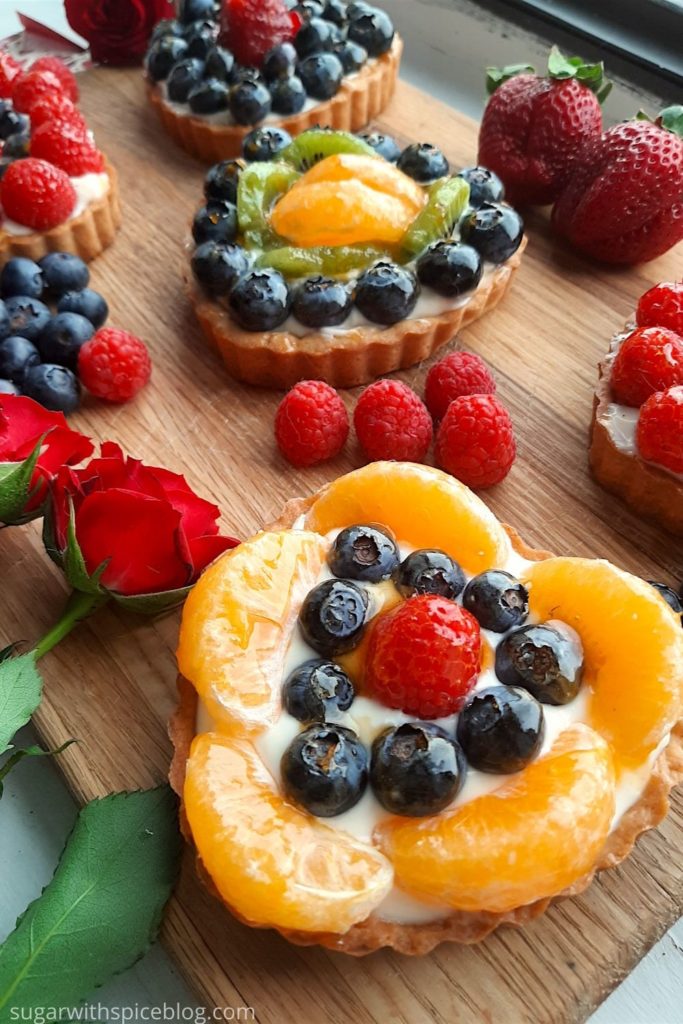
I remember one particular time in third grade, the afternoon of our elementary school field day. I’d been told not to get too sweaty since we had company coming over after school. And I knew that fruit tart was waiting for me. I was desperately trying to succeed at any and all events in the hopes that I would come home with a ribbon and feel deserving of a slice. (My crippling anxiety started early in life, you see.)
I did manage to win first place in the three legged race. Mostly by forcefully dragging my partner to the finish line by her leg… but hey! Fruit tarts wait for no slow third graders.
What else can you use these mini heart tart pans for? How about this Mushroom, Leek, and Bacon Quiche for one thing!
What you will need to make Easy Mini Fruit Tarts:
Mini Heart-Shaped Tart Tins

I cannot say enough good about these little guys! They are so adorable and precious. And they make such beautiful tarts! After a few uses you will need to grease them to retain that nonstick coating.
Don’t have time to use mini heart tins? Use mason jar lids instead!
Parchment Paper

Incredibly useful for blind baking…and just general kitchen use. I avoided buying parchment paper for years, thinking it was a superfluous expense. But I use it nearly every time I bake now! It makes removing breads, cookies, and cakes from pans so easy.
Pie Weights

A necessity for blind baking. These little guys will fill up a pie or tart crust and weigh it down so you don’t get puffy holes in your crust when you blind bake.
Not a baker and don’t want to buy pie weights for just one dish? Use dried beans or lentils instead.
Stand Mixer

I used my stand mixer for both the crust and the cream cheese filling. The crust is a million times easier using a stand mixer, because you can slowly pour in your wet ingredients just until the dough starts to come together. No accidentally adding too much liquid ever again!
How to make Easy Mini Fruit Tarts:
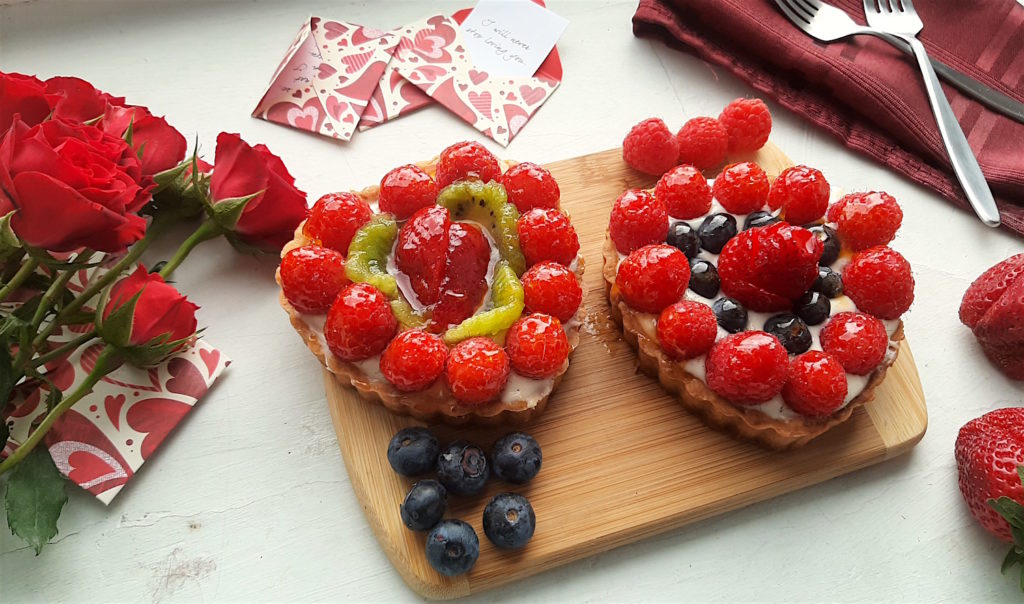
These little heart-shaped cuties really only require 3 parts, the 4th part is optional! Assuming you make the crust in advance, you can really assemble the whole thing in about 30 minutes tops. All you have to do is:
- Make the crust (2 hours)
- Make the cream filling (10 minutes)
- Arrange some Fruit (10 minutes)
- Glaze the top (5 minutes)
Mini Fruit Tart Crust
I chose to make a pastry crust for these tarts because I love the way it flakes and crumbles. But it’s also sturdy enough to support a creamy filling. But pastry dough has to remain consistently chilled. So it does take a while to make with chilling the dough, rolling it out, then freezing before baking.
One other thing to remember: any time you make an uncooked pie (chocolate, lemon meringue, fruit tarts), you’ll need to blind bake your crust. This way the crust is cooked, because no one likes raw dough. And it will be able to withstand a soft, creamy filling.
How to Blind Bake your Fruit Tart Crust:
Blind baking is very simple. Just lay your crust in its tart pan, cover it with parchment paper or tin foil, then fill with pie weights or dried beans to weigh it down. Place it in the oven and cook until done! (Cooking times will vary based on crust style and pan size.)
For mini heart shaped tart tins, cook in a 375°F oven for about 15-minutes, covered and weighted. Then remove the covering and weights and cook for 5 minutes more to brown the crust!
Remember to let the crusts cool and remove them from the baking tins before filling with cream!
Cream Filling for Mini Fruit Tarts
This cream cheese filling is the reason these tarts are so easy and quick and tasty. All it takes is some cream cheese, some sugar, and a flavoring of your choice! Whip it all together with a mixer and you’re ready to fill your tart shells in 5 minutes flat.
Now, there is a version of this tart that includes real French pastry cream. However since Valentine’s Day invariably falls on a weekday, cream cheese filling is the quickest way to make fruit tarts. No gently cooking eggs or waiting for custards to set.
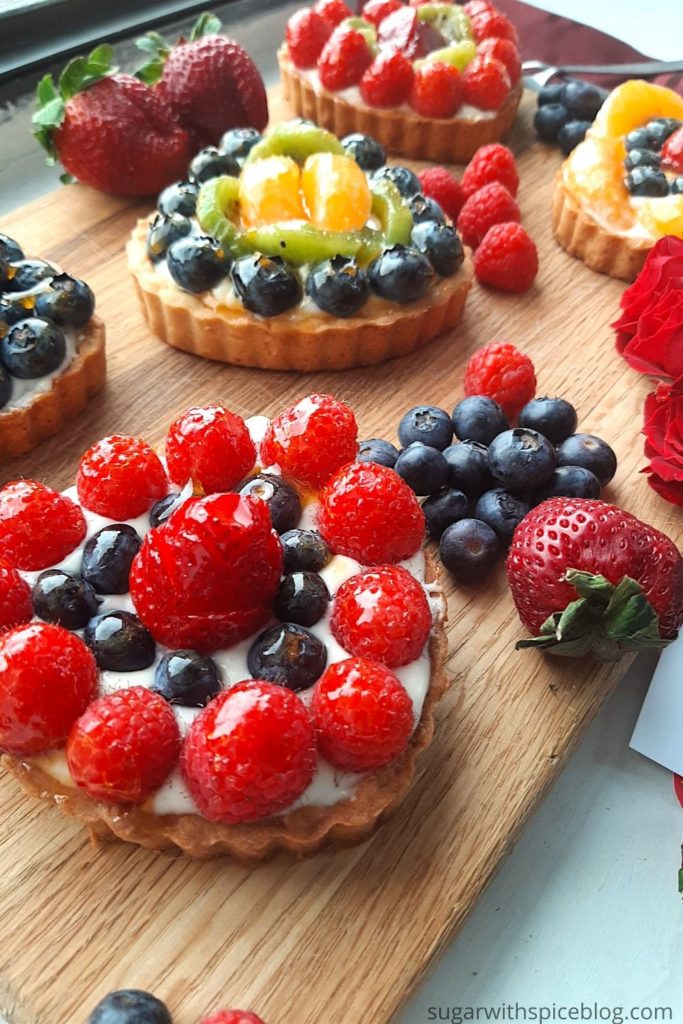
The Fruit
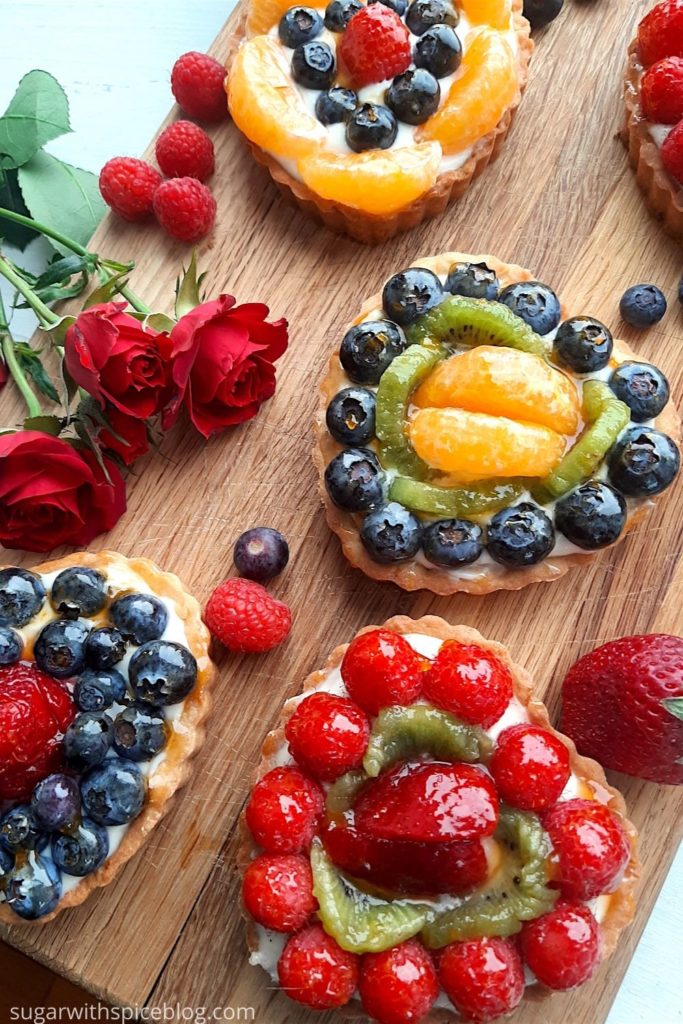
You can’t very well make fruit tarts, mini or otherwise, without fruit! This is a chance to get creative and mix and match different fruit flavors for an elegant display.
Just remember, you want to use your best fruit on these tarts. Save your less-than-appealing or slightly off fruits for a different recipe.
Assembling the Mini Fruit Tarts:
Assembling the mini tarts is incredibly easy, and you can control how long it takes. You want a super elaborate fruit arrangement? That’ll take longer. All you need to do is smooth some of your cream filling into your cooled tart shells. Fill each tart up to the edge since you want the fruit to sit on top above the crust line.
Once the cream has been filled in, arrange fruit on top of each tart shell according to your preferences. Don’t worry about the fruit sinking into the tart. The cream cheese filling is sturdy enough to hold them up.
Glazing your Mini Fruit Tarts
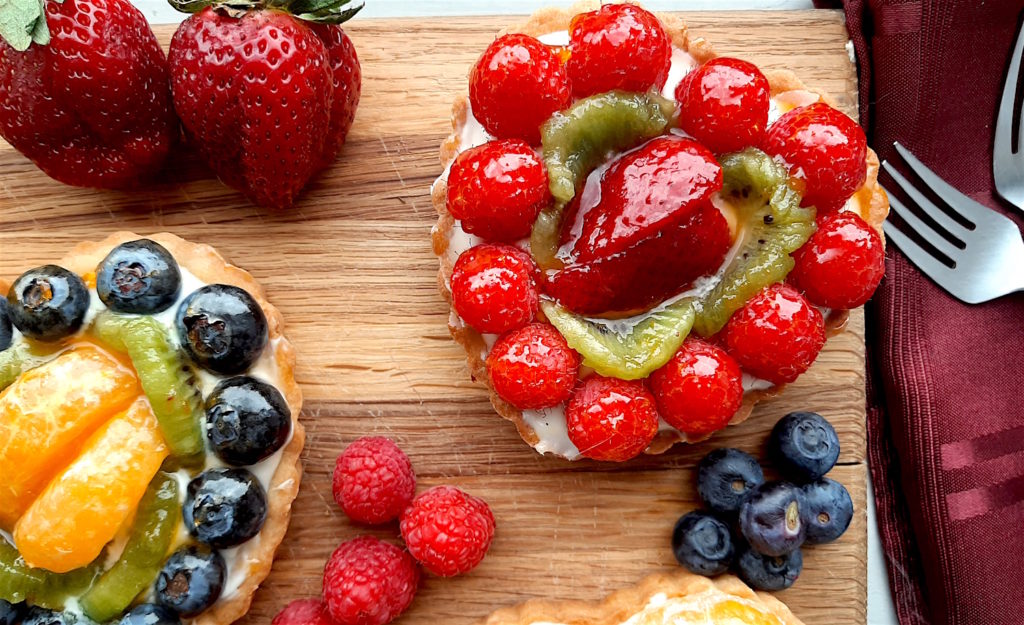
The optional portion of this dessert. But if I may, I suggest you do make time for the glaze. It adds a level of elegants and sparkle to an already adorable dessert. You’ll be sure to impress someone special serving them a dessert that literally glistens, right?
Glazes are easy. You’ll just want to heat up some apricot preserves or apple jelly in a saucepan with a little water. Once it’s warm and running, use a pastry brush to smooth the glaze over your assembled tarts. Allow to chill for about 20 minutes to set.
Substitutions and Variations to Mini Fruit Tarts:
How to make these Adorable Mini Fruit Tarts even faster?
Change up the crust! While a pastry crust is a perfect, flaky addition to any tart, they do take a while to make. Lots of chilling and baking.
- Cookie Crusts: Instead, try using a simple graham cracker or cookie crust! Just combine crushed cookies with sugar and melted butter. Press into your tart pan and bake for about 10 minutes. Voila! Easy tart crust for easy mini fruit tarts!
- Store Bought: Even faster? Use a store-bought crust you can roll out and blind bake in just a matter of minutes, not mixing required.
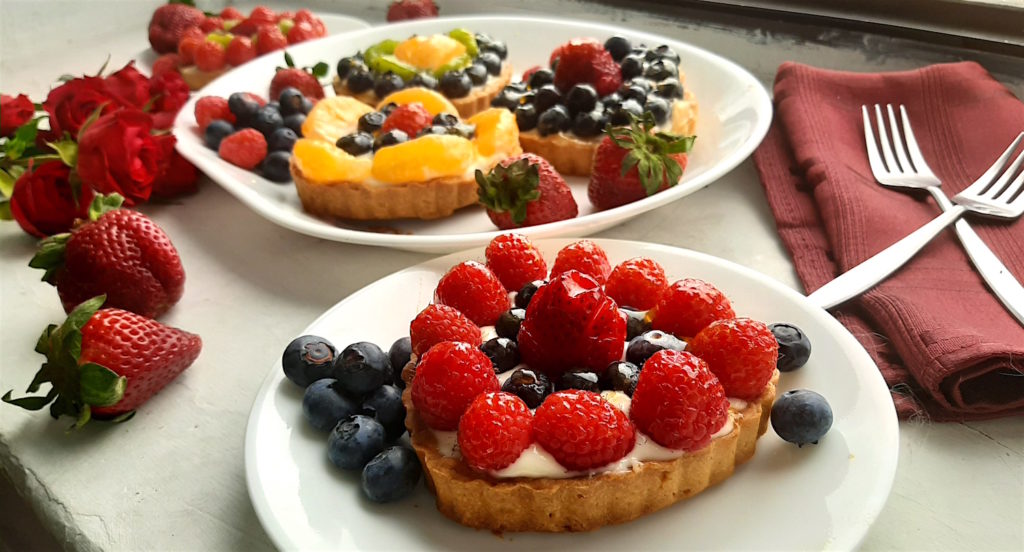
Adjusting Cream Filling Flavors:
This mini fruit tart recipe uses orange or grapefruit juice to add a bit more spring flavor to the creamy filling. I love that slightly tangy, citrusy flavor. It just brightens up the whole dish and adds to the fruity flavors!
But changing up that addition is a great way to make this tart your own. Try adding different fruit juices. Or add just ¼ cup of cream and then various extracts!
- ⅛ cup Pomegranate Juice
- ⅛ cup Cranberry Juice
- 1 teaspoon Vanilla Extract
- 1 teaspoon Almond Extract
- 3 tbsp Honey
- ⅛ cup Bourbon, Rum, Whisky, or Wine
And, of course, if you want to go for extra fancy, take the time to create a pastry cream.
Play Around with the Fruit
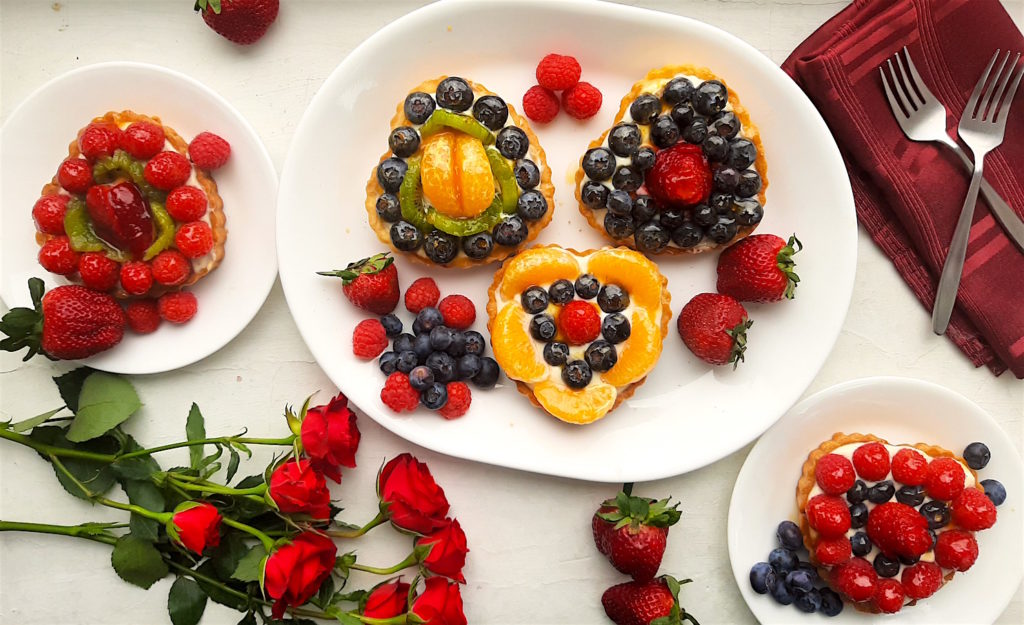
Fruit tarts are typically spring or summer desserts because that’s when the berries, stonefruits, tropical fruits, and citrus are best in season. So don’t be afraid to mix and match summer fruits.
- Peaches and Nectarines
- Grapes
- Banana, Coconut, and Kiwi
But of course, you can always make a winter version of this fruit tart if you’re looking for an easy and impressive winter dessert too!
- Fig (goes well with honey!)
- Sugared Cranberries
- Pears and Apples
Experiment with Glazes
The glaze is entirely optional. But if you want your tart to glisten and sparkle like something out of French patisserie shop window…glaze is the way to go.
Try either apple jelly or apricot preserves for an easy, low-effort version.
Feel like getting fancier? Try creating a simple syrup with a bit of cornstarch and add in some flavors or even alcohol!
Looking for other easy creamy desserts? Try a 10-minute Vanilla Bean Panna Cotta recipe or this exotic Cardamom Panna Cotta with Port Wine Gelée.
If you prefer easy fruity desserts, be sure to check out this Rustic Persimmon and Ginger Galette! And this Boozy Raspberry Eton Mess is a great summery way to use more raspberries!

What wines pair with fruit tarts?
Fruit tarts should be paired with either something bubbly or something creamy.
On the bubbly side, try a Cava or a lighter Prosecco. (Want to know the difference between the two? Check out these 6 Affordable Alternatives to Champagne to learn what would pair best!)
For a creamy wine, try a good old California Chardonnay or a French Viognier. Chardonnay will be intensely oaky and creamy. A Viognier will add some tropical and floral notes, which I tend to prefer with fruit tarts!

A quick and easy fruit tart recipe with luxurious cream filling, perfect for Valentine's Day!
- 1 1/4 cup Flour
- 1/2 cup Powdered Sugar
- 1/4 tsp Salt
- 1 Egg
- 1 tbsp Heavy Cream
- 1 tsp Orange Zest
- 1/2 tsp Vanilla
- 8 oz. Cream Cheese
- 1/4 cup Sugar
- 1 Orange or Small Grapefruit Juiced
- 1/2 cup Apple Jelly or Apricot Preserves
- 1/4 cup Water
- Assorted Fresh Fruit
-
Preheat your oven to 375°F
-
Combine the flour, powdered sugar, and salt. Whisky to combine and set aside.
-
In a separate bowl whisk together the egg, cream, vanilla, and zest until thoroughly combined.
-
Slowly pour the egg mixture into your dry ingredients just until the dough begins to come together. (You may not use all of the wet ingredients.
-
Form the dough into a 6 inch disk, wrap in plastic, and chill in the fridge for 30 minutes.
-
Roll out the chilled dough to 1/8 inch thick.
-
Cut pieces just 1/2 larger than your tart tins. Lay each cut piece into its tart pan. Press the dough into the tin on all sides, including the flutes along the edge. Press of any excess dough and use to patch.
-
Chill in the freezer for 10 minutes.
-
Cover each tin with parchment paper or tinfoil, cut to size. Fill with pie weights or dried beans.
-
Bake for 15 minutes. Remove the beans and foil/paper. Bake another 5 minutes for golden crust.
-
Remove from the oven and let cool.
-
Combine cream cheese, sugar, and juice in a bowl.
-
Whisk until combined, it should be smooth and creamy. (Add a bit more juice if you feel it's still too thick.)
-
Scoop cream filling into each tart, using a spatula to smooth and spread the filling to all sides and edges of the crust. Fill to the top of each tart.
-
Arrange your fresh fruit in the center of each tart. This is your chance to get creative!
-
Place the tarts in the fridge while you make the glaze.
-
Combine your apple jelly or apricot preserves with water in a sauce pan. Heat until runny and smooth.
-
While still warm, use a pastry brush to lightly glaze the fruit for an elegant shine.
-
Place the glazed tarts back into the fridge to chill for at least 20 minutes.






Leave a Comment